
The printable giftboxes we’ve made can be printed out on cardstock (or even normal printer paper) and assembled to make your own fancy gift boxes. If you need to know how to print and assemble them – this guide will show you how.
How to print the gift box printables
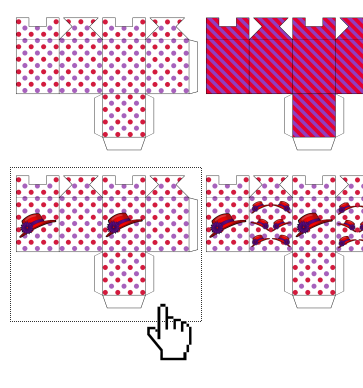
If you are printing the square gift boxes or the sets of pillow boxes – you can click the example picture on the page of printables:
Which will load the full size version of that giftbox:

– from there you can download or print the .pdf file. To print, click on the icon of a printer:
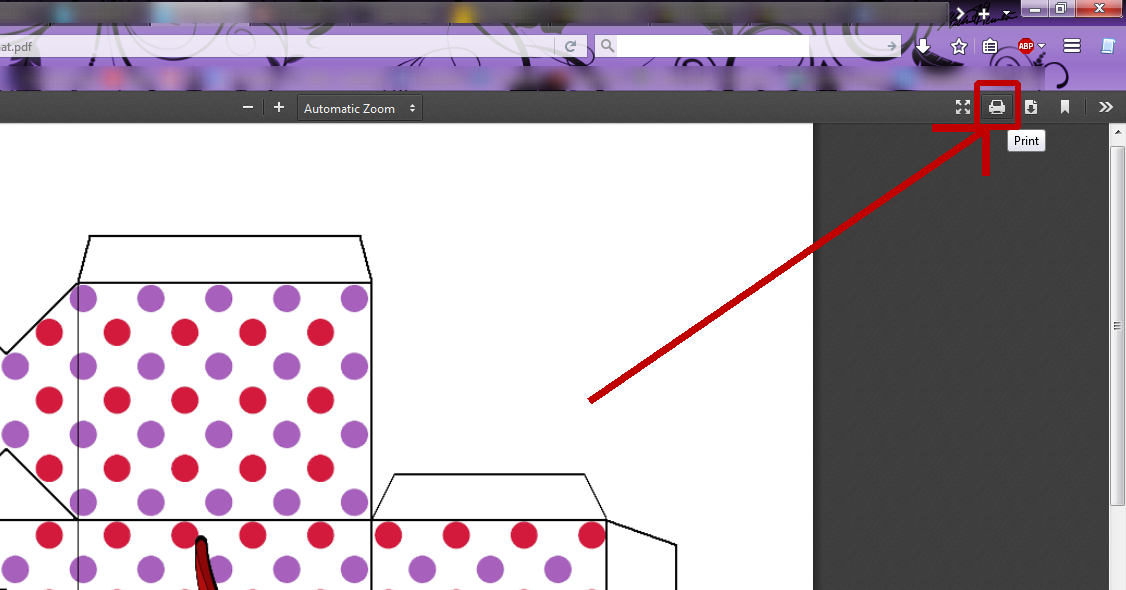
.
How to print the individual gift box printables
If you’d like to print the individual pillowboxs (not the ones that have 4 to a page), those have a slightly different way to print, and I’ve included instructions on how to make them larger or smaller. So Click here for instructions on downloading the individual gift boxes
How to assemble the gift box printables
Cut around the outside edges of the gift box. These examples have been printed onto cream coloured parchment style card to make them easier to see in the photos – but you may prefer to use white card. (Click the images for a larger view).


To make folding easier, particularly for the curved parts of the pillow box, use a knitting needle or other pointy (but not sharp) object to draw along the lines first. Then fold along the lines, folding so that the printed side is facing outwards.


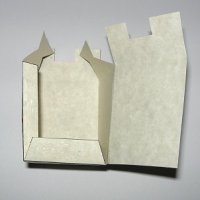
Apply glue or double sided sticky tape to the plain tabs, and secure them to the opposite side of the gift box. For the Square box, the base of the box has 3 tabs to attach to the sides of the box. You may find it easier to glue 2 of the base tabs first (as with the picture on the right above), then glue the last tab and the side tab at the same time to finish.
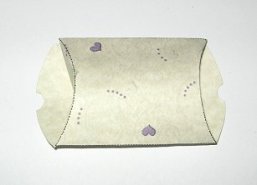
For the pillow box, fold the curved ends without a notch in first, then fold over the ends with the notch. You normally leave both ends un-glued in this type of box, however you may glue one end if you wish. A piece of ribbon will also keep the flaps closed while making the gift box a little prettier too.

For the Square box, fold over the squared top flaps down first, then fold over the triangular flaps to close the top of the box.
.
How to use the individual “pillow box” templates
Either right click the small images and select to “save link as” (or “Save target as”) or click the small image to load the full size gift box template and right click that image and select “save image as”.
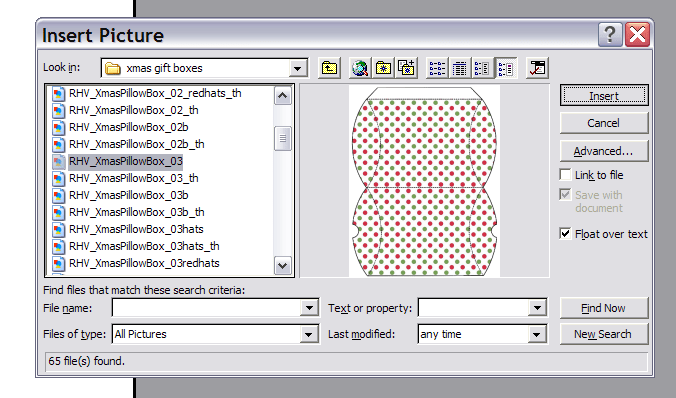
The best way to print them so that you can adjust the size, is to insert them into a document file (eg using Microsoft Word). To do that, open up your word processing program, and select the option to insert an image. Your program may look different to this, but this is an example

Then look in the location you saved the images to, find the particular gift box you would like to use, and select the “insert” option.
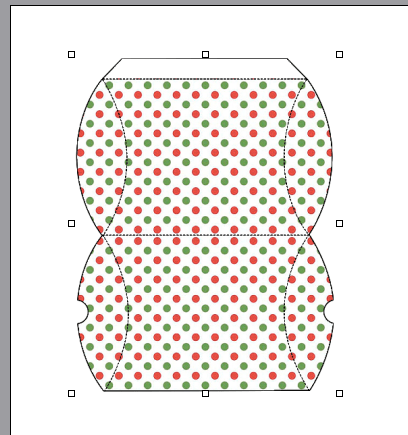
The picture will take up most of the page. You may want to print it that size, or make it smaller. To make the image smaller, you can click it once, and you should see little squares on each corner. Using your mouse, select the bottom right square, then hold down the left mouse button and “drag” the square towards the top left side to make the image smaller.
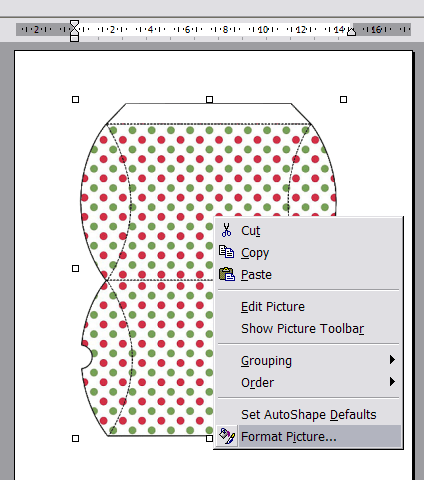
Alternatively, you can click the image, and select the “format picture” option (again, your program may call this option something different).
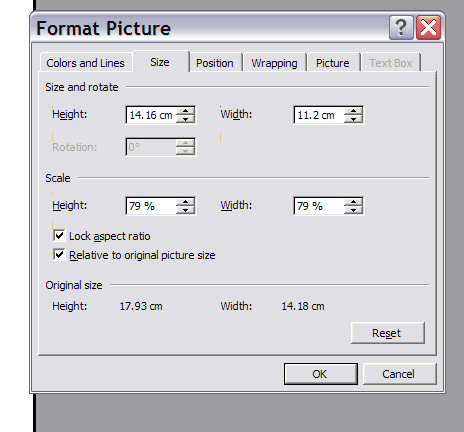
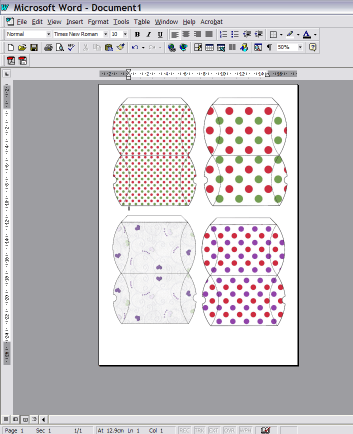
This should give you the option to resize the picture (Look on the “size” tab). To fit 4 gift boxes to a single page, you will need to scale the image down to about 65% or smaller (about 8.5cm wide). You can define the exact size of the image in cm with this option. Remember to leave room in the margins of the page, to ensure the gift boxes print properly.
Once you have made the image the size you would like, you can add more gift boxes and print the page when you are ready. If you think you may like to print more later – don’t forget to save your document file, so that you don’t have to do all this again :)
Once they are printed out, it’s time to cut them out and stick them together!

