While there are some great Red Hat nametags / name badges around to purchase, you can make your own very cheaply with these free templates.


You can choose to print these on paper and laminate them (officeworks can do laminating for you), then attach a fastener on the back to use it as a name badge. Or you can print them and slip them into a plastic nametag holder.
Laminated badges | Holder badges | DIY Badges | Instructions | Emergency Labels
Laminated Nametags

Choose from the designs below.

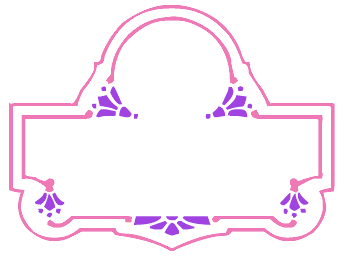
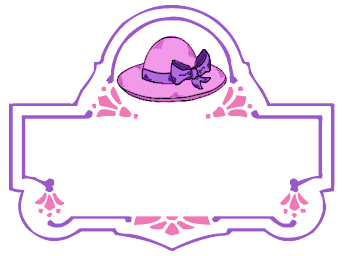
 ~ Rounded Top Frame
This shape is available with a blank space at the top for your Chapter logo, or with a generic Red or Pink Hatter image.
Available as a sheet (.doc file) that will print 8 to a sheet in 2 versions:
Download Blank – Print the sheet and then write details on after printing.
Download with text Box – With a text box for typing in the name prior to printing.
Download Pink Hatter – With a text box for typing in the name prior to printing.

You can also download each badge image separately so that you can replace any of the images in the sheet with a different design.
~ Purple Frame
To download, right click and choose to “save as”.


.
~ Red Frame
To download, right click and choose to “save as”.


~ Pink Frame
To download, right click and choose to “save as”.


~ Lavender Frame
To download, right click and choose to “save as”.


.

 ~ Regal Frames
This shape is available with a blank space at the top for your Chapter logo, or for you to add a different crown clipart (perhaps a different one for a Vice Queen), as well as one with a crown – for both Red or Pink Hatters.
Available as a sheet (.doc file) that will print 6 to a sheet.

Download Red hatter – With a text box for typing in the name prior to printing.
Download Pink hatter – With a text box for typing in the name prior to printing.
~ Download Images Separately


.
Nametags to go in plastic holders


If you don’t want to make laminated badges, you can download a badge template sheet that will print them to business card size, so that you can use them in a plastic holder.
For the empty space at the top corners of the shaped frame versions, you can fill that with rhinestones and other blingy accents!
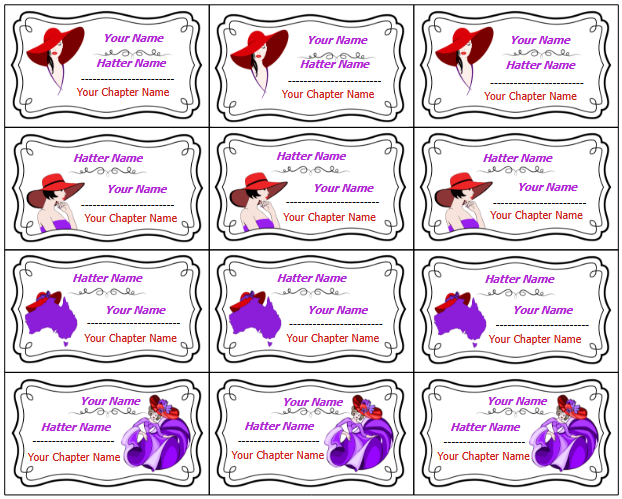
Business Card style:
~ Click here to download sheet with text boxes
You can download a sheet of 12 business card sized badges with text boxes where the names can be filled in prior to printing.
~ Click here to download blank sheet
You can download a sheet with no text boxes, so that you can handwrite the details in yourself.
~ Click here to download each image
To download, right click and choose to “save as”.


.
.
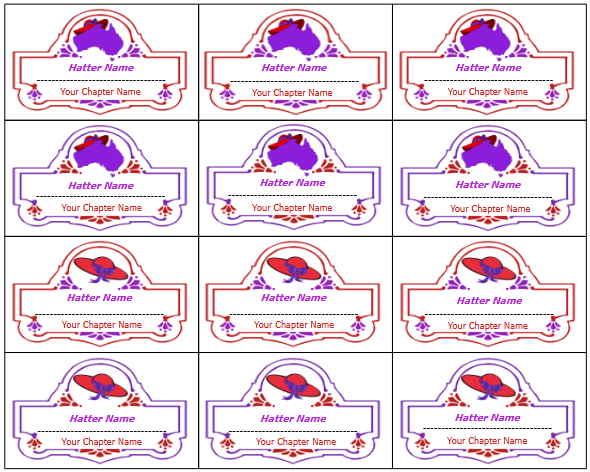
Shaped Frame Versions:
~ Click here to download Templates
Download a whole page of 12 business card sized badges with text boxes where the names can be filled in prior to printing.
Download Sheet Version #1

~ Click here to download the images separately
To download, right click and choose to “save as”.
~ Purple Frame
.
~ Red Frame
~ Pink Frame
~ Lavender Frame
.
Instructions
~ Click here for instructions on how to swap images
To change images in the .doc file, click on the image you want to replace, which will surround it with a thin grey border with grey boxes. Go up to the top menu and select “Insert”, then go down to “Image” – This will being up your file explorer, find where you’ve downloaded the badge image files, and add the one you’d like to use.

.
~ Click here for instructions on how to adjust the text boxes
If the text boxes are out of alignment when you open the file (which can happen with differences in word processing programs), you should be able to drag them into the right spots.
If you change the font style or size, you will need to adjust the text boxes to make the writing sit correctly on the name badge.
Deleting Text Boxes
You can delete a text box you don’t need by clicking on the grey line that forms the border of the text box, then hit delete.
Repositioning Text Boxes
You can reposition the text box by clicking on the grey line that forms the border of the text box, then click and hold to drag it into a new position.
Resizing Text Boxes
To resize the text box, click the grey border of the text box, then click and hold on the grey square in the corner, and drag it until it is the correct size.
Making additional Text Boxes
If you would like to make additional text boxes (eg to allow you to adjust the position of the writing better if you have more than one line and different sizes of font), you can click on the grey border of the text box, then right click and select to “copy”. Then left click on the plain edge of the document (to stop highlighting the frame), then right click to bring up a menu and select “paste”


.
~ Click here for instructions on how best to laminate
After the nametags are printed out, cut around them right against the line and put them in a laminator sheet.
It is best to laminate them twice to make a thicker namebadge that won’t bend. To do this, laminate it once, cut it out right against the paper edge, then put that into another laminator pocket and laminate it again. This time, cut it out leaving some of the plastic around the edges. This encloses the paper properly so that the lamination won’t peel away.
Make sure to round any pointy edges so they aren’t sharp!
If you don’t have a laminator yourself (Officworks sells them for around $20, so they are a good investment!), Officeworks offers a laminating service, they may be able to do it for you.
.
~ Click here for instructions on adding a fastener
You can glue a brooch pin to the back using a strong glue like “Tarzan’s Grip” (superglue doesn’t seem to work well on the laminated paper). This might be a good option for a Chapter making a batch of name badges, as these can be purchased in packs.

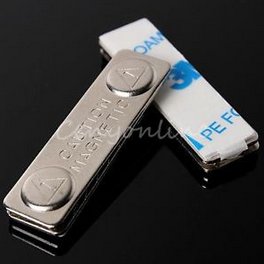
Another option is to buy self-adhesive magnets or clips to stick onto the back (you could glue these on for extra security).

Magnetic strips can save fabrics from pin holes. All these options you can find on ebay.


.
Emergency Contact Labels
A common suggestion is to put your emergency contact information on the back of your name badge. Eg your partner’s name, their mobile number and home phone number.
That way it’s always on you, and easy for fellow Hatters to find in an emergency. Depending on your badge, you might be able to write the details on with a permanent pen, or you could write it on a small piece of paper and glue it on.
But if you would like a nice neat label to use, we have some available for you to download. You can print them out on sticker paper, or you can print them on normal paper, cut them out and use wide stickytape to attach the label to the back of the namebadge.
~ Click here for label options

Version #1
Prints 24 labels to a page. (Fill out details prior to printing) [Download]

Version #2
Prints 34 labels to a page in 3 sizes. (Fill out details AFTER printing) [Download]
.
DIY Fancy Frame Nametags
If you have a graphics program, you can make fancy framed nametags like the ones above using decorative frame fonts.
~ Click here for information
To make most of the ones above, I downloaded a special font that makes decorative frames rather than the letters of the alphabet. I used “Vintage Panels 6“, using the letter “V” and “E”. Check out some of the other fonts for different shape frames.

This creates a single colour frame, so I created an image in my graphics program, using that letter “V” in 200 size, then I then used the “Lasso” tool to select parts of the image and changed the colour of those parts to red.

Once you have that done, you can then add the writing on the nametag and any other pictures you like. This particular nametag shape I think looks nice with a hat or crown in the top.
When the design is done, insert the image into a word document, so you can resize the nametags to the right size, and print out several at a time.
.

